Decorate your garden with DIY cement crafts: interesting ideas and step-by-step instructions
Garden owners are always wondering how to beautifully decorate their property and stand out from the crowd. Garden figurines aren't always affordable, and their durability leaves much to be desired. Those with a keen imagination often try to create original decorations and crafts from cement, as it's one of the most accessible materials. Read this article to learn how to work with the material and what homemade cement figurines you can create to enhance your garden.
Content
Features of working with cement mortar
Before working with cement mortar, it's recommended to carefully study the properties of this material and the mixing technology. It's difficult to call cement a capricious material, as almost every gardener has experience using it, however limited. There are a few simple rules for preparing a high-quality and durable mortar:
- To make the mixture more elastic, it is recommended to add a little PVA glue to it;
- Since cement products require a long drying period of seven days, to maintain their integrity it is necessary to wrap the figurines in plastic;
- paint can be applied only after priming;
- To finish the product and remove roughness, use sandpaper;
- To create large sculptures, molding plaster is added to the cement.
Preparing the Workplace: What You Need to Work with Cement
Before you begin working with cement and creating various garden figurines, you need to prepare your work area and all the tools you might need:
- a metal container for preparing the solution, it should be at least ten liters;
- drill with a mixing screw attachment;
- plastering spatulas and paint scraper;
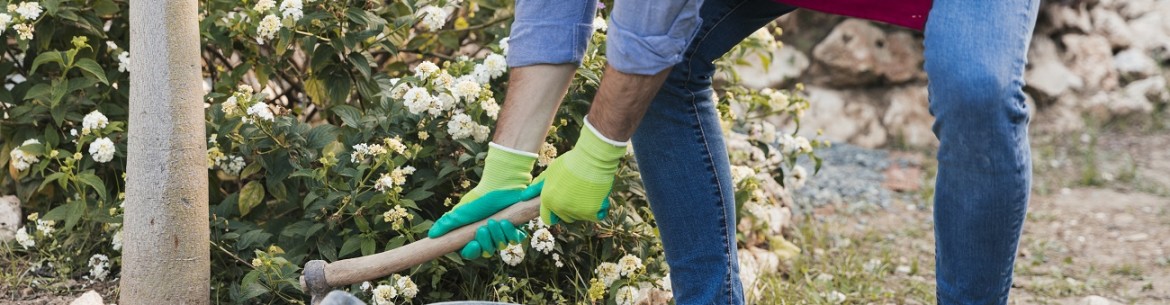
- apron, rubber gloves and wet wipes;
- waterproof paint, brushes and primer;
- ready-made forms if available.
The work area should be covered with either oilcloth or a disposable tablecloth so that your DIY cement garden crafts don't stain everything around them.
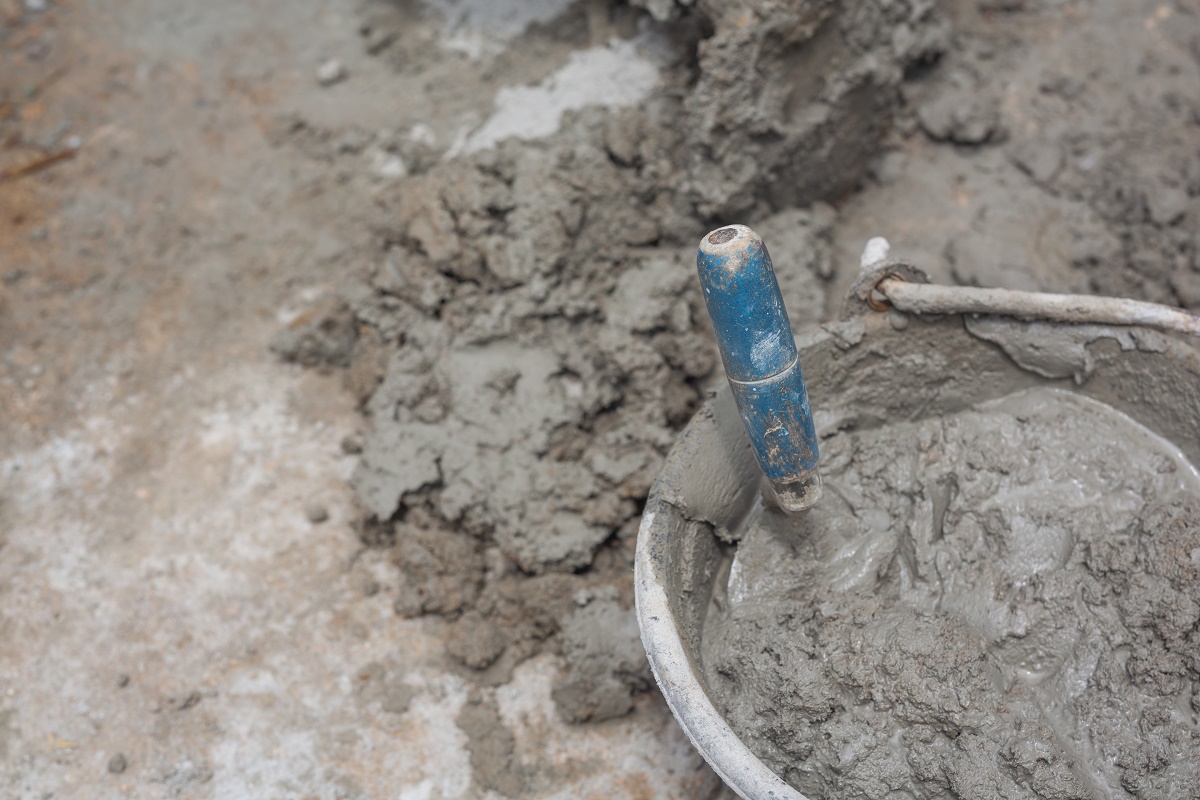
Recipe for cement for making figurines
The cement for the work is prepared according to the following proportions: 1 part cement, 1 part sand, and 1 part PVA glue. Water is gradually added to the mixture and mixed until smooth. The result should be a dense mass similar to thick sour cream. For a denser material, it is recommended to increase the amount of sand in the proportions, but not more than double. The gypsum mixture is prepared using the same principle.
Step-by-step instructions for making garden sculptures using cement.
If you have limited experience making cement crafts, we recommend looking at simple projects that even a beginner can handle. And if you involve children in the process, you can not only tastefully decorate your space but also have fun.
Dwarf
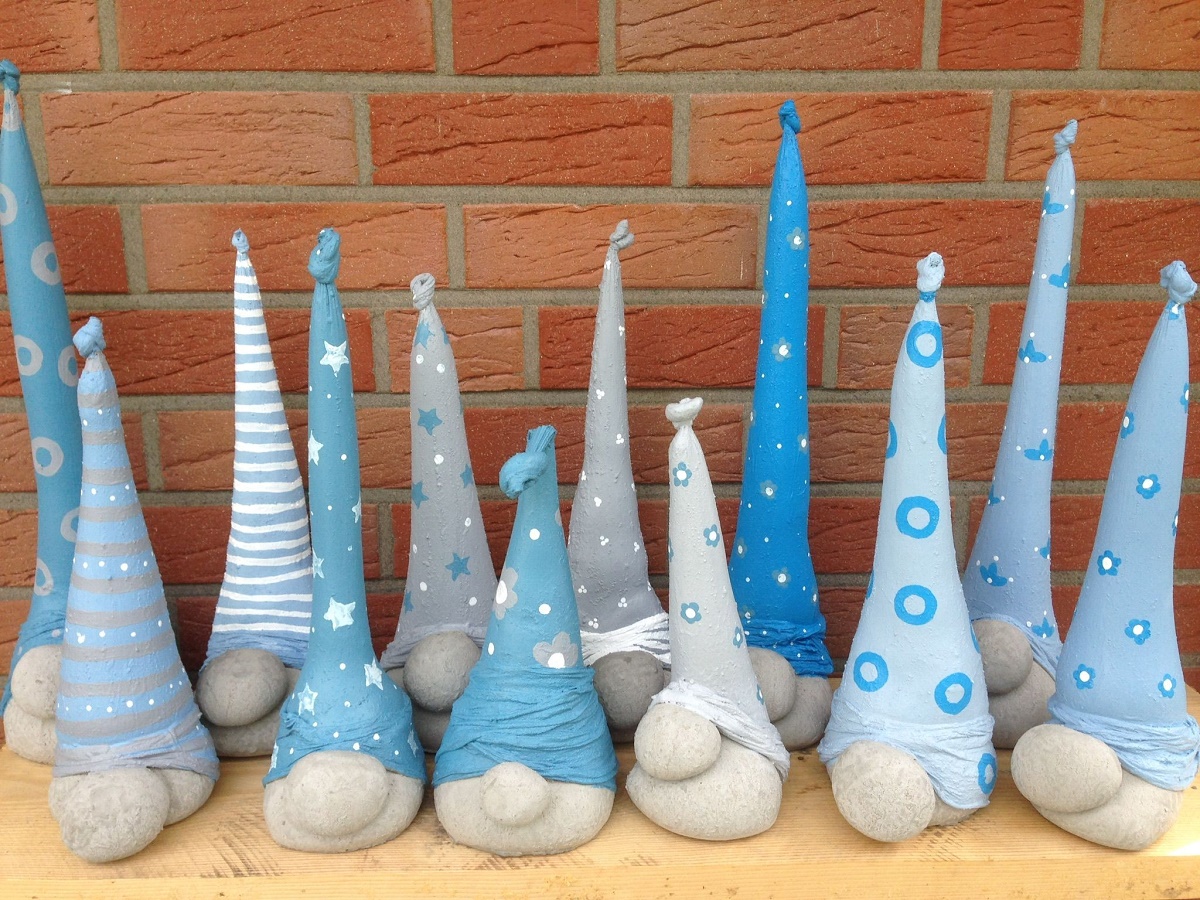
Gnomes are considered garden guardians and are often found decorating garden plots. To make your own cement gnome without spending money on a store-bought figurine, you'll need a stocking, a metal rod, and some rope for securing it. Pour the cement mortar into the stocking, then insert rebar to strengthen the structure. Twist the rope at the top to extend the gnome's hat. Once dry, form three balls: one for the nose and the other two for the legs. Paint your new garden friend in your favorite colors and place it in the garden.
If you can find a ready-made mold, the gnome-making process will be even easier. You can look for such molds at specialty gardening stores in your city.
Flowerpot

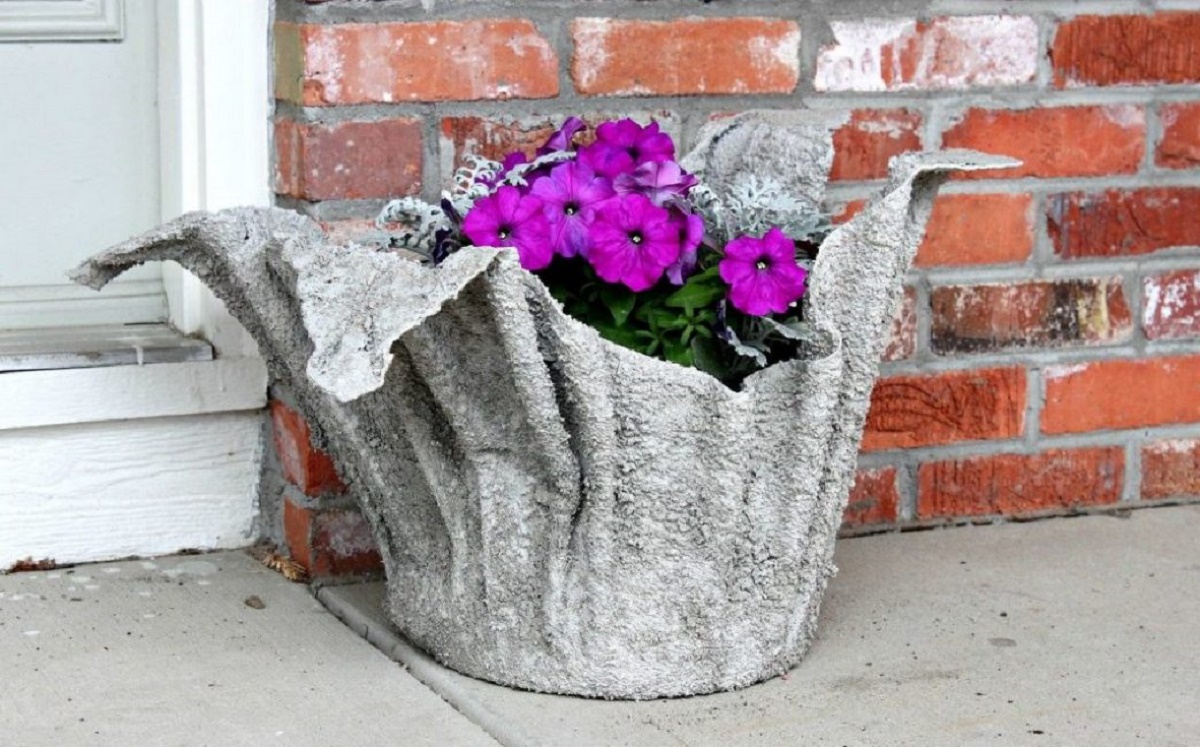
Cache-pots serve as decorative containers without the necessary drainage holes. Making one out of cement is incredibly easy. You can use any old bucket, pot, or wooden box as a ready-made mold, or you can go the extra mile and mold the sides and bottom yourself.
If you want to create an unusual flowerpot, it is recommended to use burlap fabric and form a beautiful flower shape.
After the cement has hardened, paint the resulting plant pot and place the plant inside.
Bird drinker
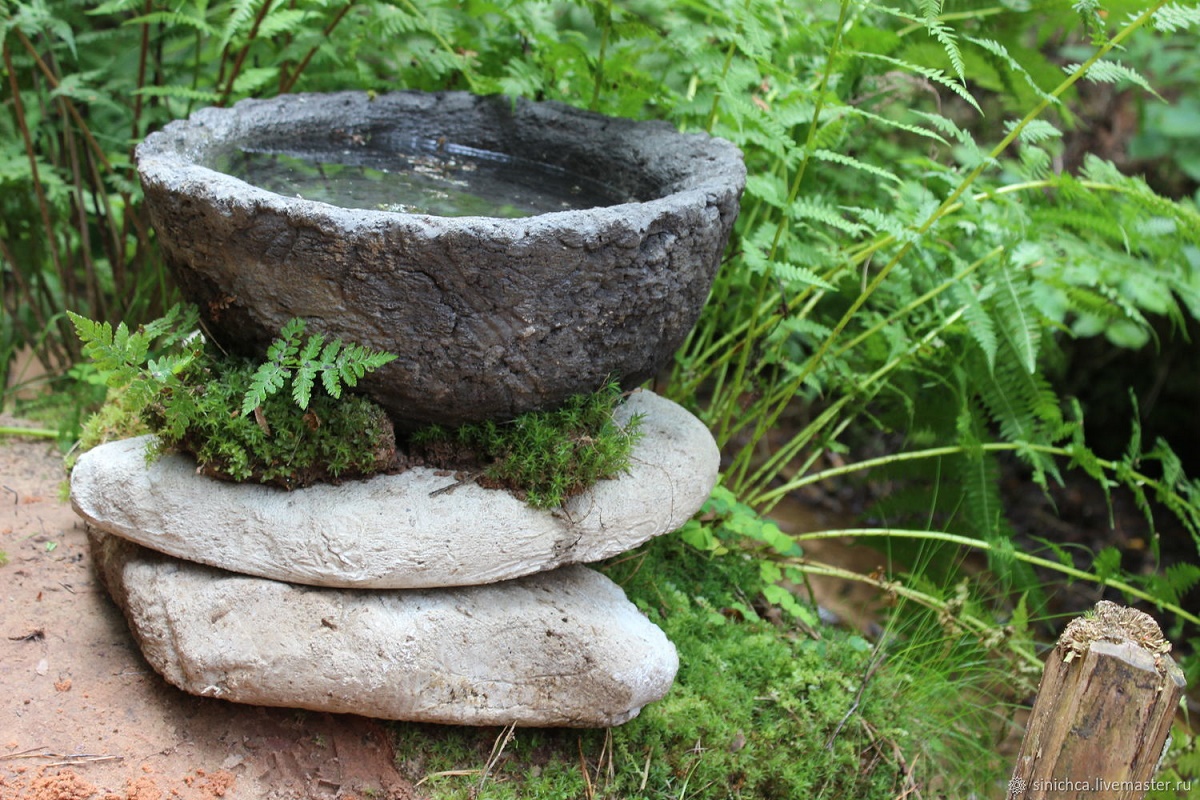
To attract birds to your property as new neighbors and pest repellents, you can make a beautiful birdbath. These crafts are not only functional and beautiful, but also easy to make. A ready-made plaster frame serves as the base, and the leaf-shaped cup-shaped top is created using simple molding. To make the task easier, you can use any old container and fill it with cement, lining it with plastic. Rocks can be used as weights. Once dry, the finished birdbath can be attached to the frame and decorated as desired.
Pumpkin
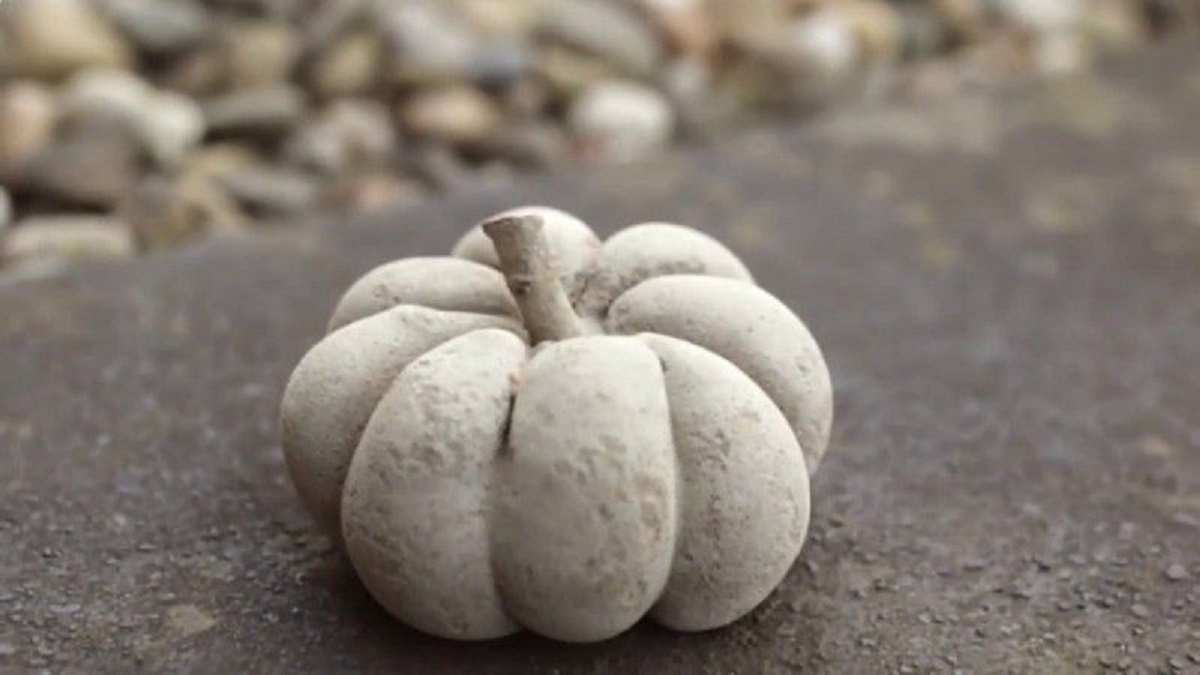
Pumpkins are considered a symbol of fertility in most cultures, so if you're wondering what to make for a cement garden, be sure to decorate it with a large, voluminous pumpkin. The vibrant shape will look stunning against a green backdrop.
If you make a pumpkin entirely out of cement, it will be very heavy, so it is recommended to make only the outer walls.
Roll a ball of newspaper and scrap paper, wrap it in a rag, and secure it with string to form a pumpkin shape. Place a rough cloth on top of the ball and wrap it in plastic wrap. Coat the resulting structure with cement and let it dry slightly. Before it dries completely, add a second layer. Depending on the desired thickness of the walls, three to five layers may be required. Once completely dry, remove the string and remove the core from the inside.
Be sure to lubricate the film with a small amount of machine oil so that it does not stick to the cement walls.
Paint the pumpkin any color you like and protect the paint from fading with varnish.
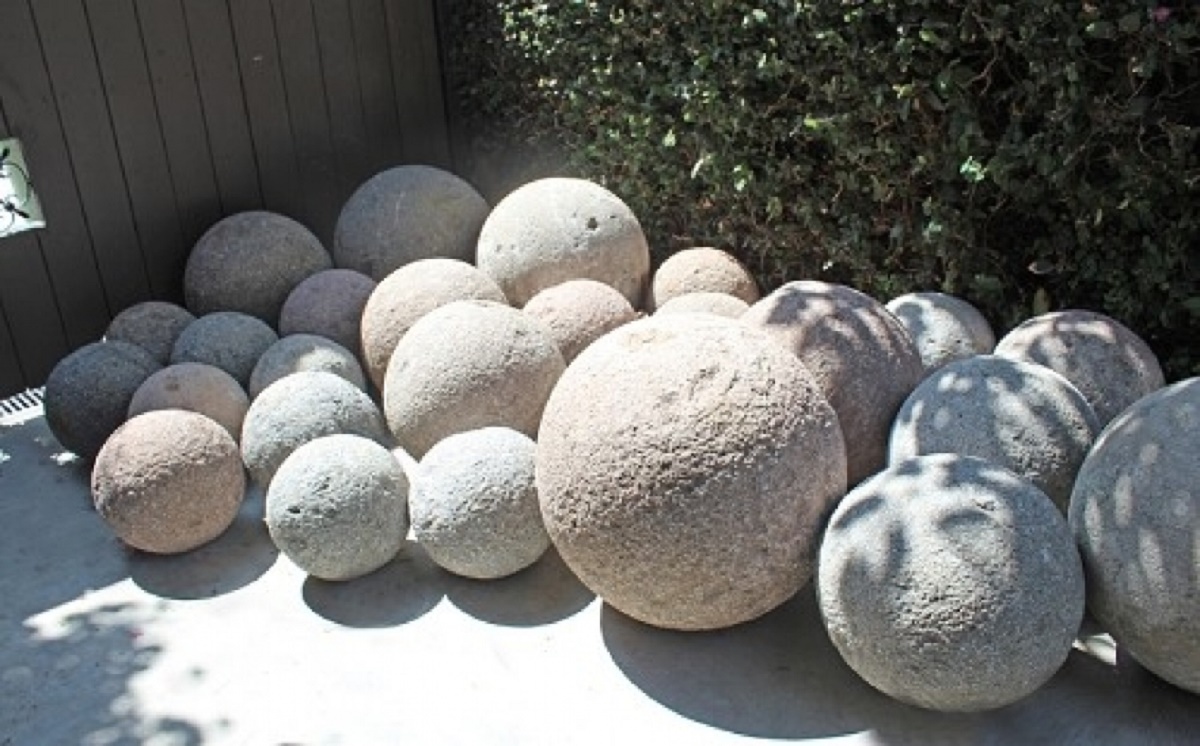
Stones for the garden
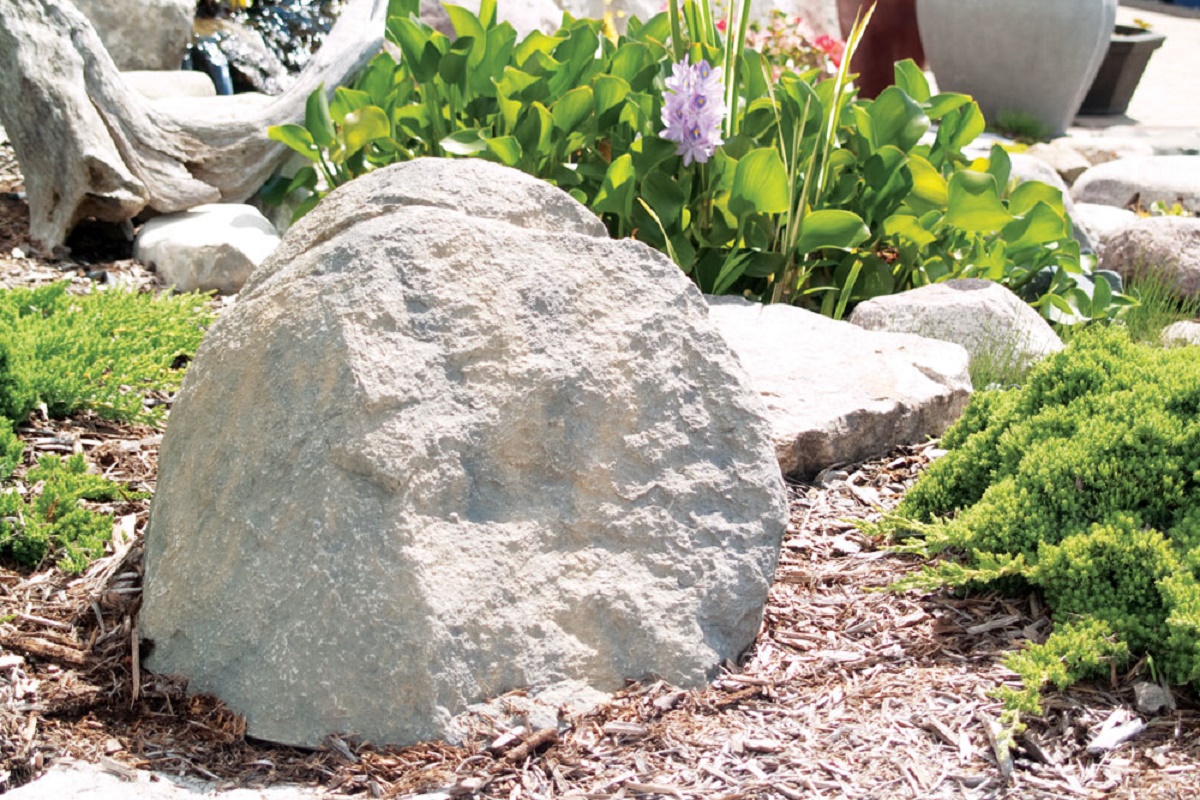
Making cement stones to decorate your garden is easy. Simply pour the cement into a plastic bag and leave it to dry. You can periodically adjust the shape of the stone while it's drying to create a picturesque stone. For a beautiful effect, you can add a little sand to the cement itself.
How to make useful crafts for the home from cement
Cement figurines can be used to decorate not only your garden but also the interior of your home. These exclusive pieces are sure to attract the attention of your guests and leave them with a positive impression.
Decorative balls
Beautiful decorative balloons can be used to decorate the ceiling or simply as figurines. To make them, take a regular balloon and inflate it to a small size. It's recommended to choose balloons made of thick rubber so they don't burst immediately when coated with cement. The surface is coated with several layers of liquid mortar, then the balloon is popped and removed.
To obtain an unusual ball shape, you can wind it with threads and get an original figure.
Lamp
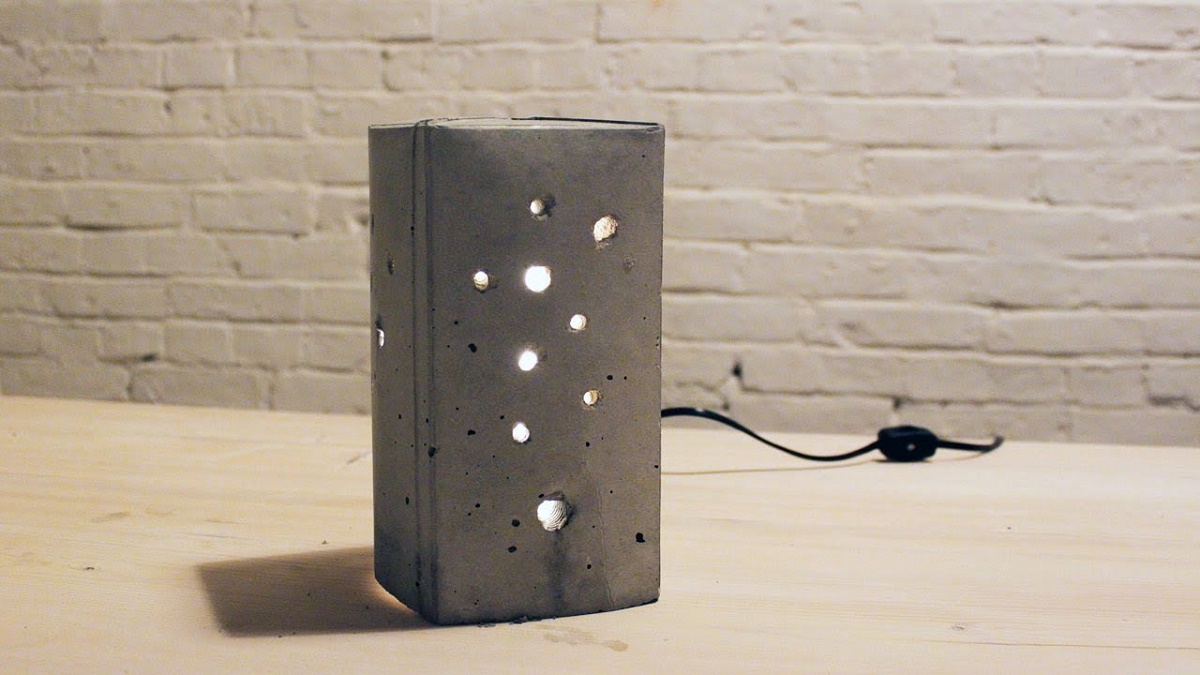
And how unusual concrete lamps look in interiors with their play of gray and bright light! You can use any old lampshade or make a cone out of thick cardboard. Use a special concrete mix to shape and coat the mold. Cover your mold with the mix and let it dry. Insert a light bulb into the resulting system and mount the finished structure into the ceiling.
Vase
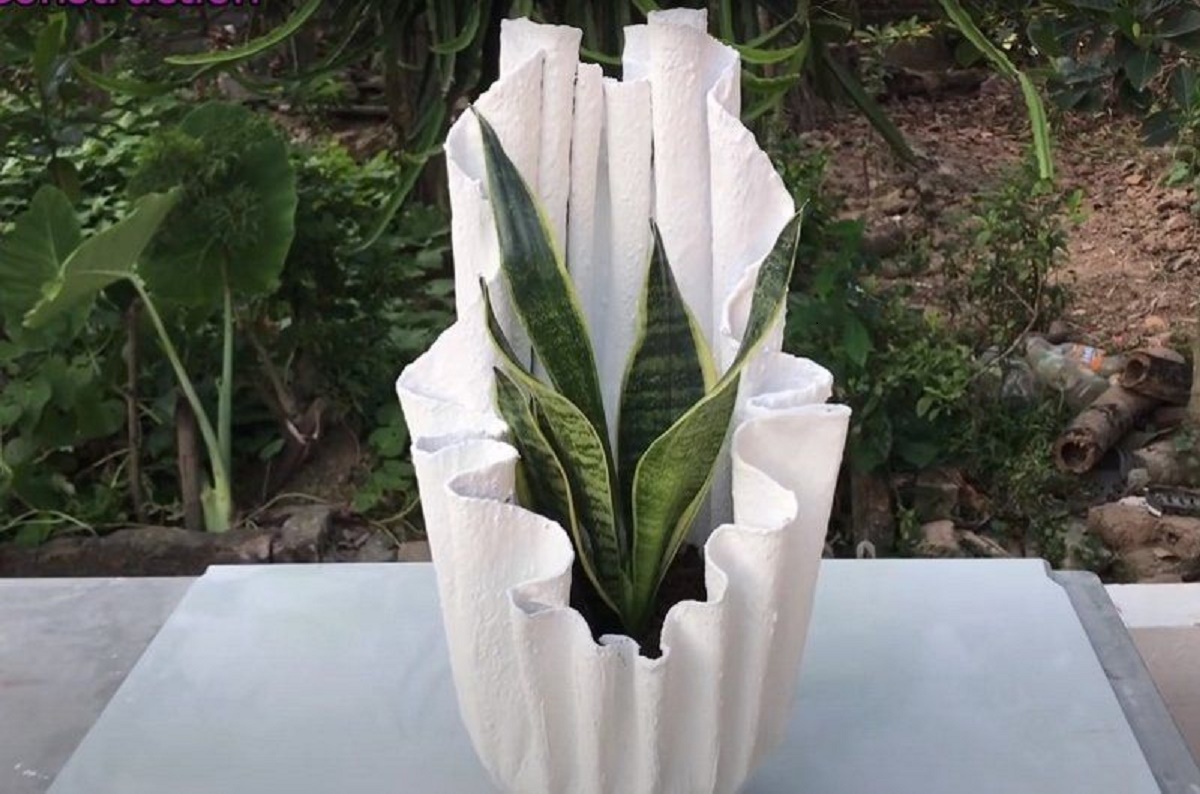
A vase is an essential part of any interior, so if you want to create an unusual vase that you definitely can't buy in a store, follow these instructions:
- Take a ready-made form or bucket.
- Place a plastic film there and fill the form with cement mortar.
- Wait until it dries, remove unnecessary parts with sandpaper.
- Cover with paint and add your own unique designs.
The principle of making a vase is somewhat similar to the method of creating a flowerpot.