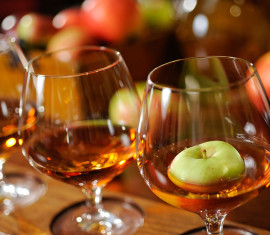
Wine made from apples from my own garden
Fragrant, aromatic, and light apple wine will be a highlight of any holiday table. Few people prepare this wonderful drink, believing that homemade apple wine is too tart or strong. In fact, anyone can make this drink if they follow certain guidelines.
How to cook
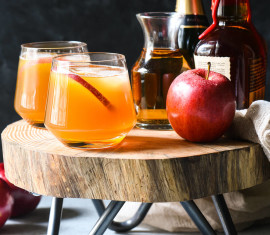
Making homemade apple wine is actually quite simple. All you need is fresh fruit, special utensils, and patience (the drink takes about two months to mature). The result is a lighter version of cider.
Ingredients
- fresh apples – in any quantity.
Step-by-step instructions
- So, it's best to start with the most important thing—the fruit. Prepare two bowls: place whole apples in one, and leave the other empty for the sliced fruit. There's no need to wash the apples, as they contain "wild yeast" that will allow the drink to ferment naturally. Simply wipe them with a dry, clean cloth to remove any excess dirt and dust.
- Next, you need to prepare a blender or meat grinder.
- Use a special knife to separate the core from the fruit, and also seeds – they impart unnecessary bitterness to the drink, so it's best to remove them early. Then, using a regular knife, cut the fruit into wedges and place them in a clean bowl. If you don't have a special knife, you can use a regular kitchen knife to core the fruit. Also, trim off any rotten or moldy parts.
- Place the chopped fruits in a blender or meat grinder and grind everything until puree.
- Place the fruit puree (also known as pulp) in an enamel pan or glass container. Cover the mixture with cheesecloth and place it in a warm, dark place for 3-5 days. Stir the mixture 4-5 times daily. Keep in mind that each container should be no more than 2/3 full of pulp, as fermentation requires space.
- Once the required time has passed, you'll need to separate the fruit pulp from the juice. To do this, you'll need a water bottle or regular 3-liter jars. You'll also need a funnel, a sieve, and several layers of cheesecloth. You can also make your own funnel: take a 5-liter bottle, cut it in half, and use the side with the neck.
- Strain the fruit puree into a container. Pour the juice into a mug and strain it again through cheesecloth. Repeat this process several times to oxygenate the liquid.
- After this, place a water seal on the container and put it back in a warm place for a month.
- When the time comes, sterilize the wine bottles or jars. Boil water, place the containers and lids in a basin, and pour boiling water over them.
- Using a thin, clear hose, pour the drink into a sterilized container. To do this, remove the airlock from the bottle, insert one end of the hose into it, and gently draw air through the other. Then, quickly pour the poured liquid into the container. Fill it to the brim.
- Close the containers with lids. Store the containers with the drink in a cool place, for example, in fridge or in the cellar. The drink should be infused for at least a month.
Some tips
Here are some helpful tips to help make your apple wine even more delicious:
- Don't leave air in the bottles. It will only ruin the taste of low-alcohol cider.
- When pouring wine into a container, the hose should not touch the bottom of the container where the drink was previously stored. There is sediment there that will spoil the cider.
- Sugar can help make wine more alcoholic. Use 50 g of sugar per 100 ml of juice for a light drink and 400 g per liter for a fortified drink.