
DIY Apple Caterpillar: Craft Ideas for Kindergarten
Kindergarten and elementary school—for parents, these times are all about one thing: crafts. For each season, creative teachers come up with new ways to entertain both children and their parents. Crafts are most often suggested in the fall, as a wide variety of materials—pine cones, leaves, acorns, vegetables, and, of course, fruits—are readily available. Apples are one of the most common craft ingredients. So today, we'll talk about how to make a cute and fun craft. caterpillar from apples.
Content
Preparation
Caterpillar made from apples is a universal and win-win craft option that is suitable for both very young children (elementary groups of kindergarten) and for primary school students (grades 1–2).
This craft not only helps you have fun with your parents and create something unique, but also develops fine motor skills, attentiveness, and accuracy.
Necessary materials and tools
So, to create a simple, yet beautiful apple caterpillars You will need the following tools and materials:
- apples;
- several carrots (they will be needed to create the legs, so two small root vegetables or one large one will be enough);
- grapes (take 1 large green grape and 6 small black ones – you will need them for the antennae and nose);
- plastic eyes (there's plenty of this kind of craft material in craft stores; you can, of course, make your own eyes from scrap materials, but buying ready-made ones is much easier);
- glue;
- toothpicks (they will help to fasten the parts of the structure together);
- knife;
- cutting board;
- various additional decorations (leaves, grass, flowers, ribbons – whatever your imagination and capabilities allow you to come up with).
Be sure to thoroughly wash and dry fruits, vegetables, and berries before starting. The finished craft should look neat and aesthetically pleasing.
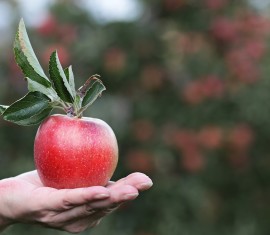
How to choose apples
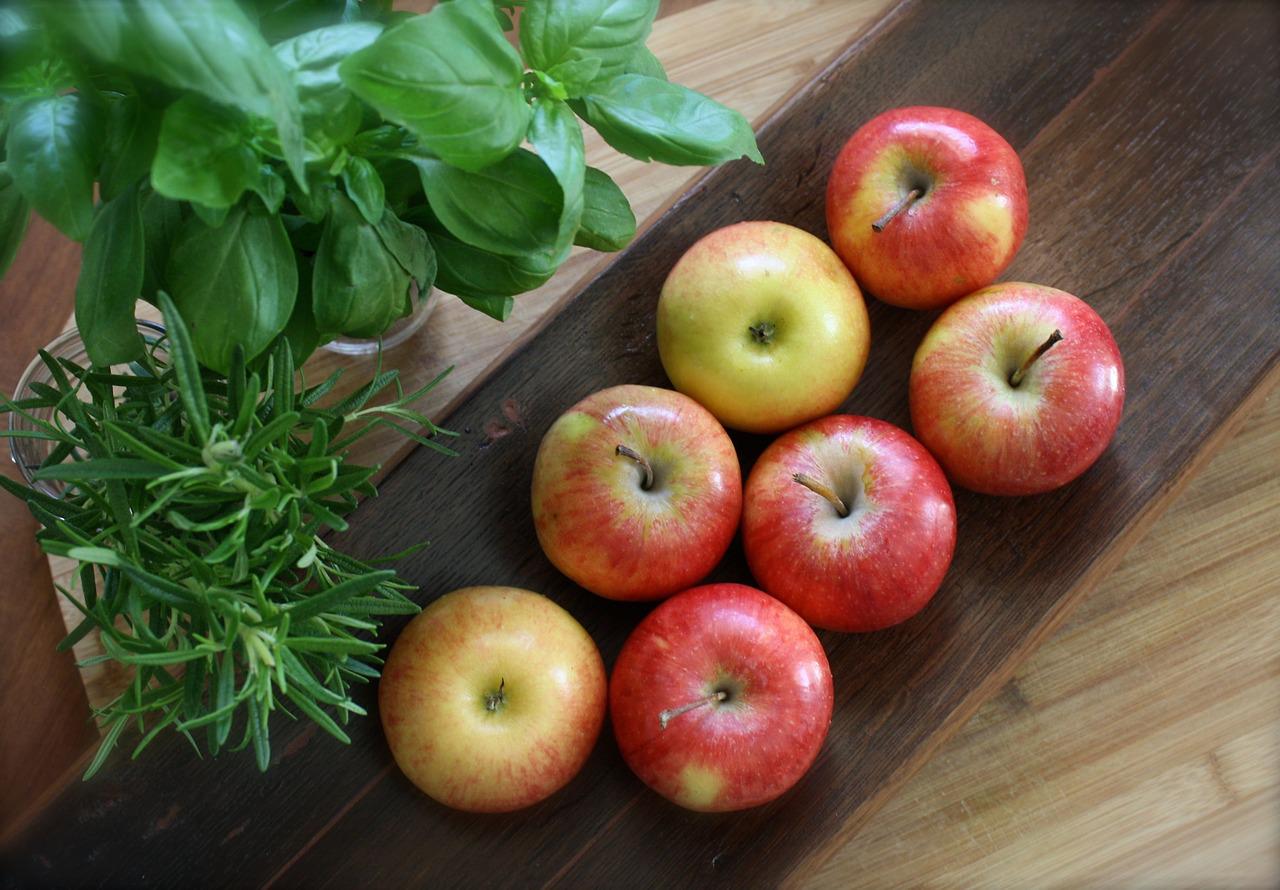 When choosing apples for this craft, consider their size and the quality of their skin. They should be medium or large, but not small (otherwise, the craft will be too flimsy and fall apart at the first opportunity). The surface of the fruit should be smooth, free of dents, wormholes, or cracks.
As for color, you don't have to pay much attention to the shade. You can even choose apples of different colors to make the caterpillar even more vibrant and playful. Five to six identically sized fruits will be enough for one craft.
Which knife is better to use?
To make the work easier, you need to choose comfortable tools from the start. The knife for creating the apple caterpillar should fit comfortably in your hand (or in your child's hand, if they're old enough to handle sharp objects), it should be well-sharpened, and it should be small (this is necessary for maneuverability).
If you plan to make any decorative cuts on the future figurine, you will need a special carving knife, but working with it requires certain skills and experience.
How to Make an Apple Caterpillar: Step-by-Step Instructions
Although many people think making an apple caterpillar figurine seems a bit complicated, it actually doesn't require much time or any special creative skills. Try to approach the process step by step to avoid getting confused and having to redo the entire figurine.
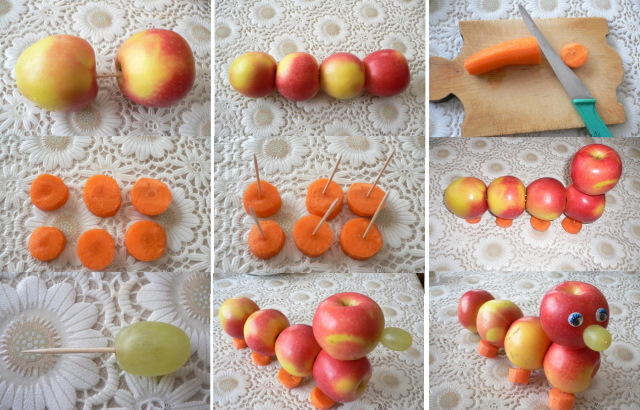
Fastening the frame
First, you need to start with the caterpillar's body. To create it, you'll need, naturally, apples and toothpicks. Typically, 5-6 apples are used for the body, but you can use more if desired.
Step-by-step instructions:
- Remove stems and leaves from the fruit. Wipe each apple thoroughly with a towel to remove wax and other substances from the skin.
- Before you start working, select the most attractive and neat one from all the apples - this will be the caterpillar's head.
- Next, take three fruits and place them in front of you with the side where the stem was previously.
- Place two toothpicks vertically on either side of the fruiting hole (they should be located at a distance of 2–3 cm from each other).
- Now begin skewering the other apples with toothpicks using the same technique. Hold the sticks so they pierce the skin of each fruit. Connect three apples this way, and secure the fourth so that the indentation of the stem faces the previous apple.
There's no need to attach the head at this stage. It will be attached later.
Fastening the legs
Now you can move on to creating and attaching the stems. The stems can be made from regular carrots. Simply cut the carrot into thick slices no more than 1.5 cm thick.
To make a craft from four apples, 8 carrot stems will be enough.
Step-by-step fastening:
- Insert a toothpick into the center of each carrot stem. Don't pierce all the way through; stick it halfway through each carrot.
- Now insert the legs into each apple-shaped segment of the caterpillar's body. Maintaining a distance of 30–40 mm between each leg is sufficient.
- Make sure that all legs touch the floor when the caterpillar stands on them.
antennae
We'll be making the future caterpillar's antennae from black grapes. They'll be attached to the apple you initially set aside for the head.
Step-by-step instructions:
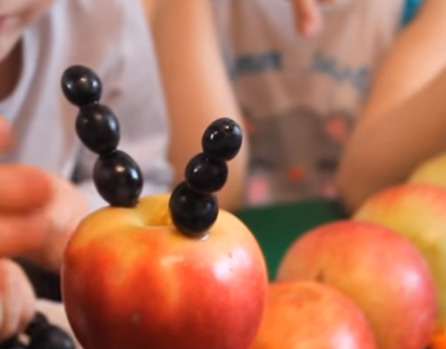
- Select the cleanest, most intact, and blemish-free grapes. Then thread them onto toothpicks in the following order: first the largest grape, then the medium-sized one, and finally the smallest.
- The first two grapes need to be pierced through with a toothpick, but the last one only to the middle, so that the edge of the fastening is not visible.
- Now hold the apple head so that the fruiting cavity is at the bottom. Place two toothpicks with grapes around the top cavity, about 20 mm apart.
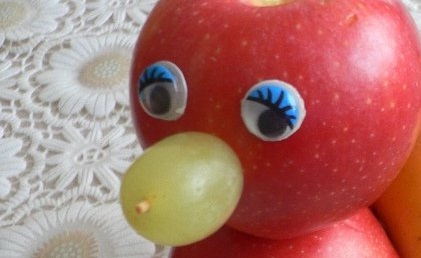
Eyes and face
The last piece remaining is the caterpillar's eyes and face. For the nose, you can use one large green grape:
- Using half a toothpick, make a hole in the apple head where the nose will be located.
- Now attach a grape to the sharp end of a toothpick so that the tip of the stick remains inside the berry.
- Insert the blunt end of the toothpick into the hole you made in the apple and press the nose onto the caterpillar's face.
Next, glue the store-bought (or homemade) googly eyes just above the nose. The distance between them should be 10–20 mm.
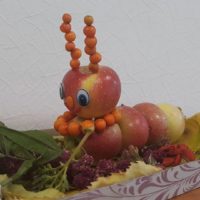
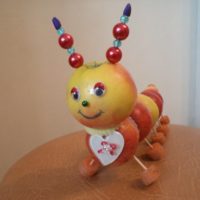
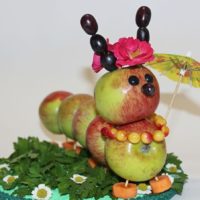
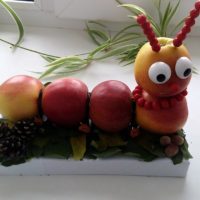
That's basically it. You can, of course, add embellishments, like beads or a bow. Don't limit your imagination!
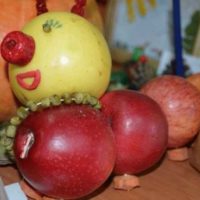
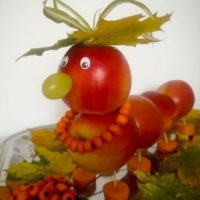
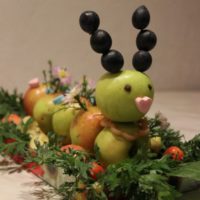
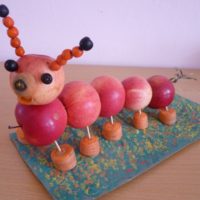
Ready-made examples of caterpillar crafts made from apples