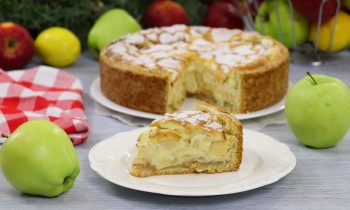
How to Dry Apples at Home: 8 Methods
Drying apples is an affordable and easy way to preserve fruit without losing its nutritional value or flavor. They're perfect for making compotes, desserts, and various dishes. Drying extends the fruit's shelf life for almost a year, and the fruit itself doesn't require any special storage conditions.
Content
How to dry apples at home for the winter
Drying is especially beneficial when you're out of containers for compote or jam, but the apple harvest continues to grow. The proper method involves selecting suitable fruit, processing it, and bringing it to readiness.
What varieties of apples are suitable for drying?
All varieties are suitable for drying. Key selection criteria:
- The fruits have reached ripeness.
- A small fruit capsule.
- Thin skin.
- Sweet and sour varieties are tastier and contain more nutrients.
- Windfall is suitable if it is not stale and has a solid, undamaged part.
Unripe apples are also suitable for drying, but they will be more sour.
Preparing apples
- The apples are calibrated, selecting those that are smooth, without dents or signs of disease.
- Wash under running water with a brush.
- The core is removed.
- Immerse them in cold water with citric acid or vinegar for 20 minutes. This prevents oxidation and darkening of the pulp.
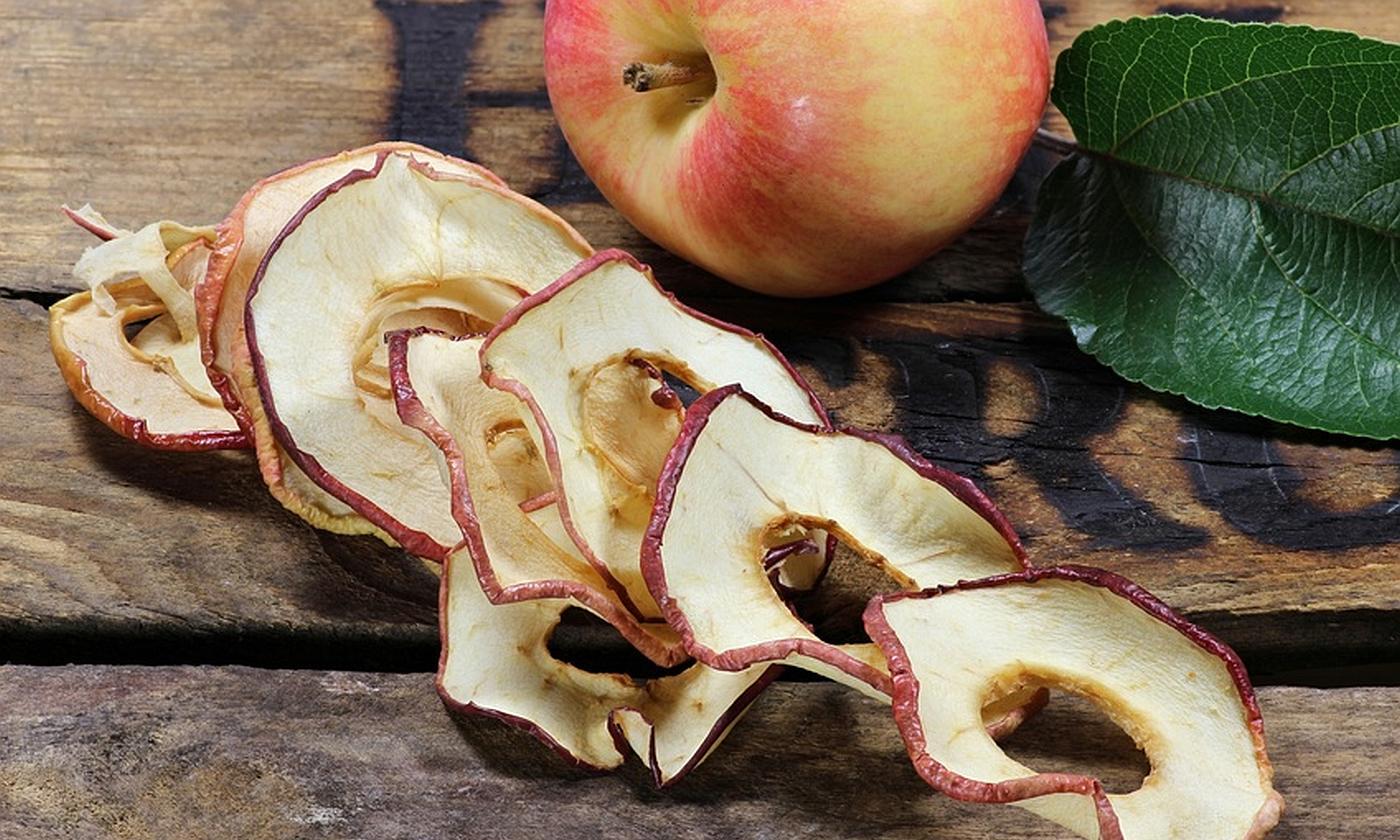
- Cut into slices or circles 5–7 mm thick.
Don't trim the peel. It will retain the apple flavor and keep the shape of the slices..
Required temperature
Don't set the temperature too high in hopes of speeding up the process. Proper drying requires several steps. When using a household appliance, first soften the texture at 50–60°C. Then increase the temperature to 70–90°C to actively evaporate moisture. Finally, to be on the safe side, increase the temperature to 100°C for 15–20 minutes.
Always check the apples during the drying process. Over-drying them will cause a loss of nutritional value and impair the flavor.
How to dry apples for the winter: all the methods
The choice of apple drying method depends on the volume of raw materials, time available, and the availability of space and suitable equipment.
In the sun

 Air drying is an economical option, but it requires preparation. First, find a location where you can set up tables or shelves for a few days. Apples will need trays, but drying on a rack or in perforated boxes will be faster.
Air-dried fruit allows for the processing of large quantities of fruit at once. When the pieces have shrunk in size, they are transferred to new containers, and the empty ones are used for new ones. One batch takes 4-6 days.
On night The baking sheets are removed, otherwise the overnight increase in humidity will spoil the product. In extreme heat, drying takes 2-3 days, but the scorching rays will begin to destroy the beneficial compounds. In this case, the products are made shading during the most active hours.
In the oven
At the first stage, the oven is preheated to 50 °C. If it gets hotter, the apples will develop a crust, moisture evaporation will be significantly reduced, and the pieces will burn.
Line a baking sheet with parchment paper or a silicone baking mat and arrange the fruit slices on it. Using a wire rack will ensure faster and more even drying.
The process will take 6-8 hours. After the first quarter of the time, carefully flip the apples over, leveling the layer again.
To ensure proper drying, it's recommended to keep the door slightly open. The flow of cold air will cool the apples, allowing them to dry faster.
After the first stirring, the temperature is raised to 70 °C and close the door. After a while, the product's volume will decrease by half. From this point, reduce the temperature to 50 °C. Turn the food periodically 3-4 times.
After 4-5 hours, the dried fruit is ready. Two pre-treatment methods will speed up the oven-drying process:
- Apple pieces are boiled for 5–8 minutes in boiling water, then placed in cold water.
- Keep in a colander or sieve over steam for 10 minutes and cool immediately.
If your oven has a convection setting, it will also speed up the drying process by 1–2 hours. Place the baking sheet on the middle rack and turn on the fan, setting the temperature to 40°C. After 30 minutes, increase the heat to 80°C. Once the apples have hardened, reduce the temperature back to 40°C. Leave the door slightly ajar for the first 2 hours.
In the microwave
To prevent apples from overcooking in the microwave, it's important to select the appropriate power setting. First, arrange the apple slices on a plate in a single layer. Set the power to 250 W and the timer for 30-40 seconds. Then remove them, turn them over, and microwave again for 3 minutes at 300 W. If you suspect the apples aren't done yet, set the timer for another 30 seconds.
In an electric dryer
Specialized electric dryers have all the features needed to successfully prepare dried fruit from a variety of ingredients. They feature trays where the prepared apples are placed. The containers are stacked in several layers. Adjustable hot air is supplied from below. The process takes 6-8 hours.
In an air fryer
In an air fryer, the moisture from the apples evaporates evenly, and the process takes 1 hour. The apple slices are placed loosely on each rack. Set the temperature to 80–100°C with low fan speed and dry for 3–4 hours. If desired, sprinkle the apples with cinnamon, vanilla, or ginger for flavor.
In a multicooker
To dry apples without them spoiling, follow this technology:
- Place parchment paper on the bottom.
- The pieces are placed in one layer with a distance between them.
- They are turned over every hour.
- The lid is not closed.
The method takes 10-12 hours, depending on the multicooker model. First, set the temperature to 70-80°C. Then reduce the heat to 50-55°C; the "Keep Warm" function is usually appropriate at this stage.
On threads
This method is suitable for outdoor use, where it's possible to tie the rope to a support. The rules are simple:
- The slices are strung on a thread in several folds or on a twine.
- Maintain a distance of 1–1.5 cm.
- Cover with gauze to protect from insects and dust.
- To prevent the pieces from drying out, stir them once a day.
Drying will take about a week. Instead of thread, use wooden skewers, spears, or wire.
If you don't have a suitable space, you can try drying them over a gas stove. Hang the strings at a safe distance and turn on the burners. Within 4-5 hours, the moisture from the cloves will completely evaporate.
In the bathhouse
Preparing dried fruit in a sauna allows you to efficiently use available space and process the entire desired harvest at once.
The apples are laid out on any suitable surface or strung on a string. They are placed near the stove, under the ceiling, and heated for 3-4 hours, reaching a temperature of 90°C. Then, the apples are left to dry completely. Once they are ready, they are moved to a ventilated area for another 2-3 days.
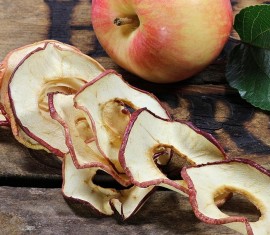
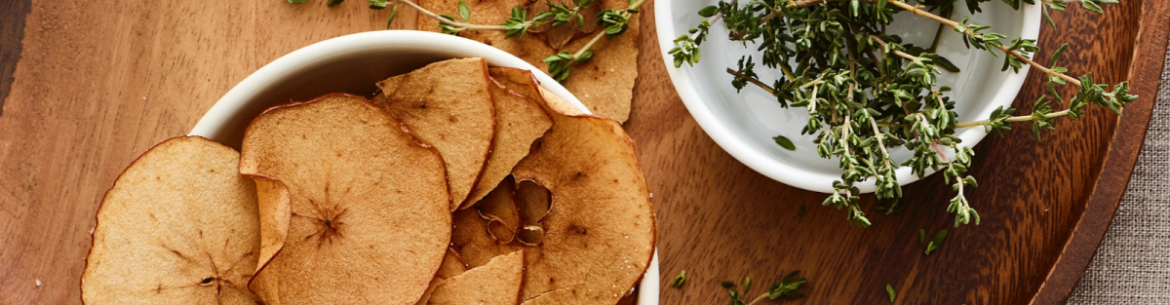
How to check if apples are ready
When the apple slices have significantly shrunk in size and wrinkled, they're ready. Summer varieties remain light in color, while winter varieties darken. To check, touch them. There shouldn't be any stickiness or water leaking out when pressed. If a piece isn't elastic and falls apart, it's time to dry it a bit longer. Store the finished dried fruit in cloth bags and inspect it periodically.