
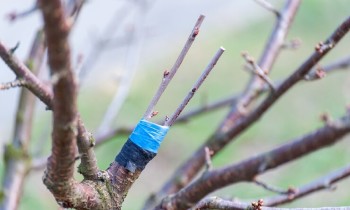
Preparing and storing apple tree cuttings for spring grafting
Gardeners use grafting to solve a variety of problems. This simple yet crucial procedure can give new life to an old tree, preserve a good variety, or transform a poor one into a new one. It's a great way to save space on your property by creating a variety of trees.
Content
- Selection of blanks
- When is the best time to prepare cuttings?
- Rules for cutting apple tree cuttings
- Selecting the best cuttings
- General storage rules
- On the street or in the snow
- Outside in the frozen sawdust
- Two ways of storing in the cellar
- Cuttings in the refrigerator
- Where else can you store cuttings?
- Prevention of spoilage
- Quality control of the preserved material
- How to avoid damaging cuttings
- Tips for working with cuttings
Selection of blanks
It's best to take cuttings from young, rather than old, apple trees. The ideal age for the donor tree is 3–10 years. Naturally, it should be healthy and bearing fruit well. The best branches for cuttings are from the middle of the tree (not the lower or upper branches).
It's best to select shoots from the south along the edge of the crown. They are stronger, have well-developed buds, and shorter internodes than those from the north.
When is the best time to prepare cuttings?
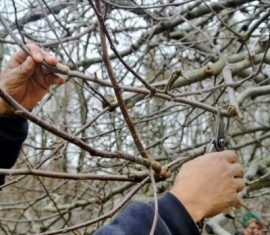
Some gardeners believe it's best to take cuttings in the spring. Over the winter, the weaker ones freeze, while the stronger ones, on the contrary, become stronger and more resilient. This can be done in late February or March. It's very convenient to combine it with spring pruning. The key is to do it after a hard frost, before the sap begins to flow, before the buds begin to emerge.
Others believe that autumn harvesting is more reliable. It's done after the first frosts of -1°C, when the tree is "dormant." This will protect the young branches from freezing during the harsh winter, and will ensure that the scion doesn't wake up until the actual operation. Another important benefit is that frost kills some microbes and mushrooms.
Until the time of grafting, the cutting must be in a dormant state.
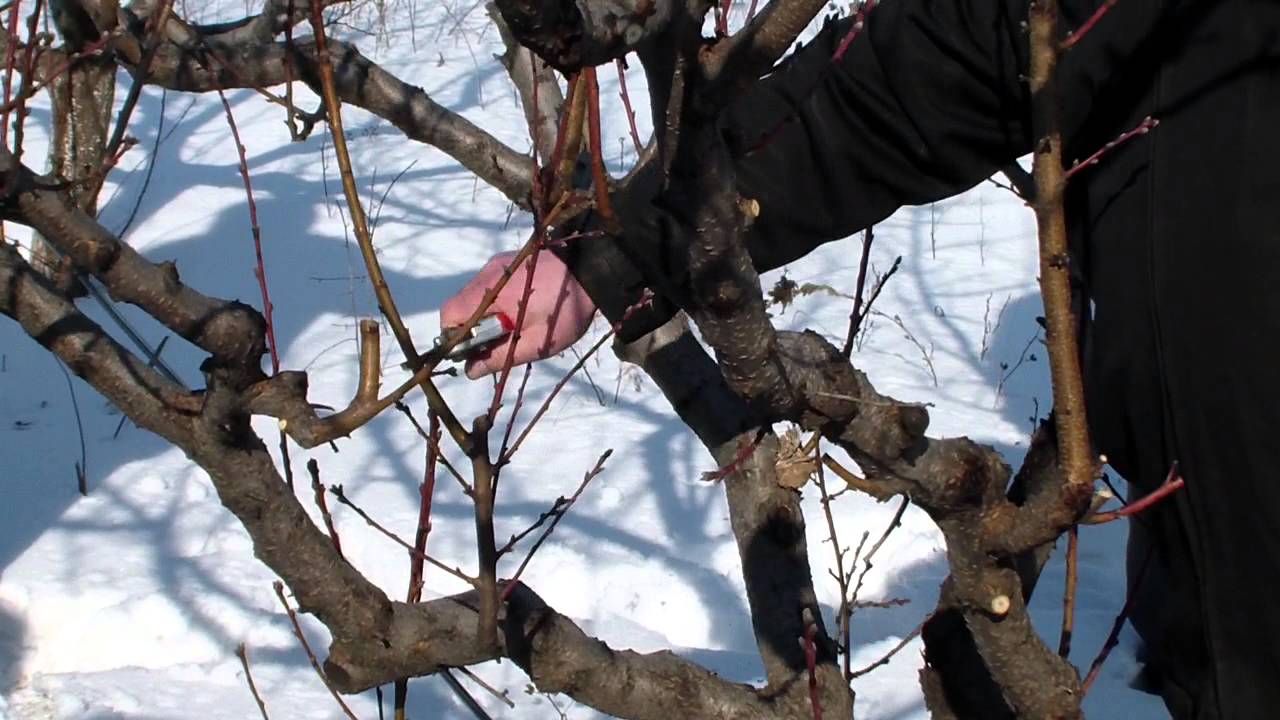
Rules for cutting apple tree cuttings

For cuttings, choose one-year-old shoots growing at an angle. Thick, straight branches growing perpendicularly upward with poorly developed buds will take root well, but you shouldn't expect a good or early harvest from such a scion. Shoots from which leaves and petioles haven't fallen by the frost are also not worth taking; they're not yet ripe. Prepare a very sharp tool—a pruning shear or a garden knife. Before cutting, be sure to treat it with a disinfectant solution to prevent infection. Make extra cuttings so that in the spring you can select better-preserved, stronger ones. Prepare pieces 30–50 cm long, 7–10 cm in diameter, with 3–7 well-developed buds. cut It's made above the bud. The cutting from an old tree can be about 15 cm long, but there must be at least three buds.
Do not touch the places under any circumstances cut with your hands. Otherwise, you may introduce an infection.
Selecting the best cuttings
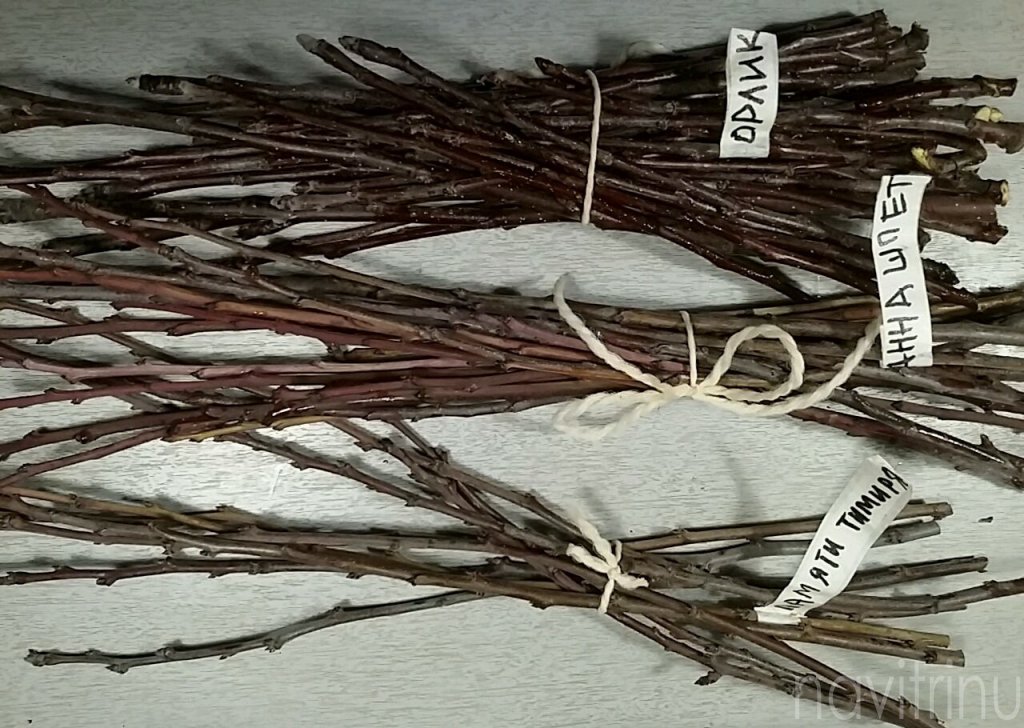
Poor cuttings with brown or black spots on cut You can safely weed them out; they are unlikely to take root well in the spring. For storage, tie up cuttings with smooth, healthy skin and a moist, light-colored cut. One-year-old shoots are considered best for grafting. Cuttings with short internodes take root faster. The terminal bud should also be well developed.
General storage rules
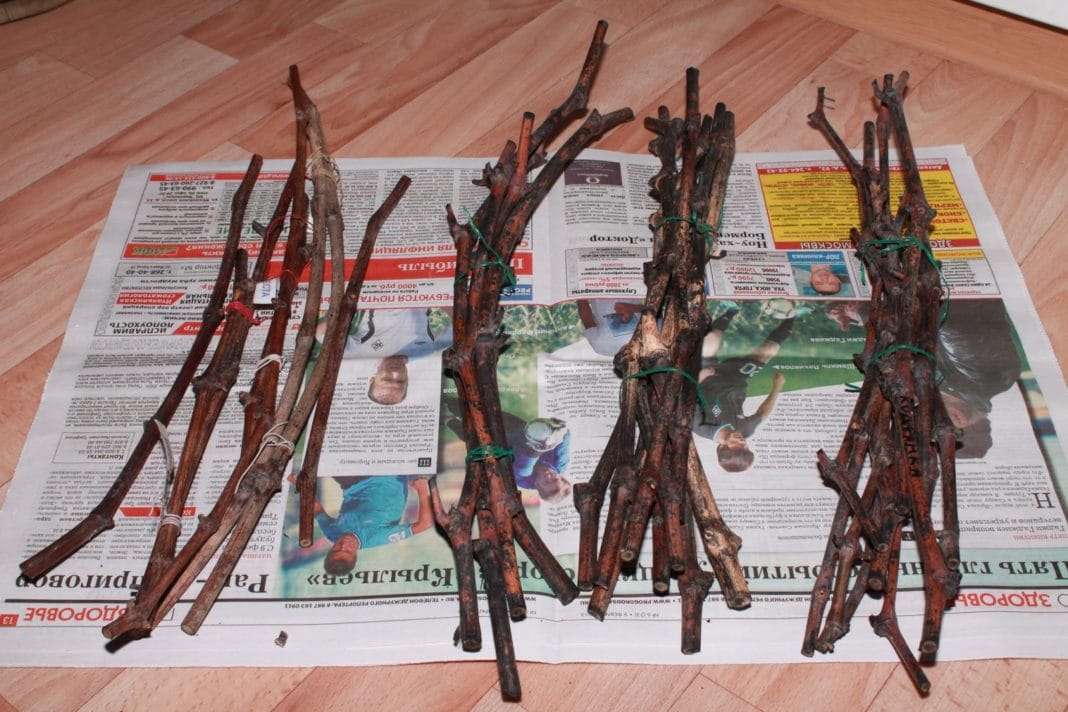
- To avoid confusion, label each bunch twice. Write the variety name on one label, and the serial number on the second. Wrap the labels with tape to protect them from moisture. And in your notebook, write the number and name twice.
- Avoid freezing or early awakening. Monitor storage temperatures. Dormant cuttings will last a long time at 0 to +3°C.
- It wouldn't hurt to lubricate the cut of the cutting. garden pitchThis will help prevent drying out.
Depending on your location and preferences, you can store cuttings in different ways.
On the street or in the snow
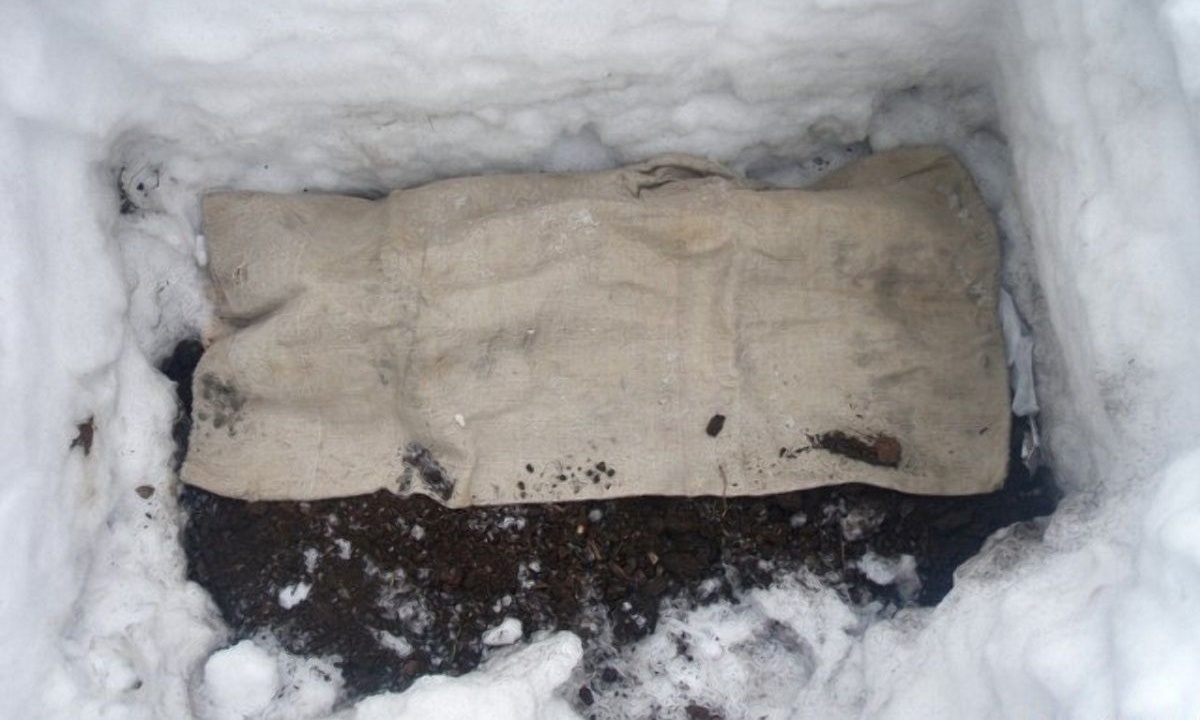
Behind the north wall (where the snow will stay longer), dig a small trench 30–40 cm deep. Line the bottom with pine branches, lay the prepared cuttings, and top with another layer of pine needles. Then cover our "treasure" with soil, sawdust, or straw. The snow cover should be at least half a meter deep.
You can do without digging in the ground, but then the snowdrift needs to be covered with a thick blanket of sawdust or straw to keep it from melting for longer.
To protect cuttings from rodents, you can wrap them in a layer of fiberglass, old nylon tights, or fine-mesh plastic or metal mesh.
Outside in the frozen sawdust
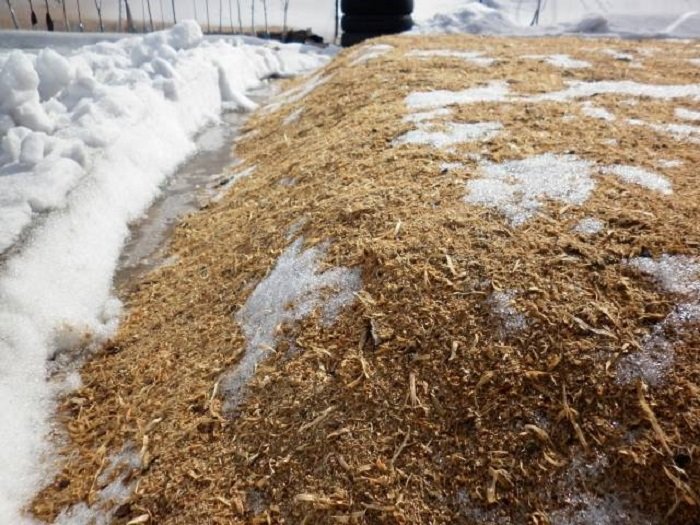
If your region experiences long, thawed winters, try this method. To prevent damage to the cuttings' skin, place them in a plastic bottle or a piece of polypropylene pipe, or simply wrap them in several loose layers of plastic film. Leave openings to allow air to circulate. Place a 10-20 cm layer of damp sawdust directly on the ground or burlap behind the north side of the building. Place your cutting in the center. Cover with another layer of damp sawdust. Leave it there until this cocoon freezes. Then, add dry sawdust to a depth of 40 cm and cover with plastic. That's it, "don't wake it up until spring!" A couple of days before grafting, move the structure to a warmer location to gradually thaw.
Two ways of storing in the cellar
- Place the cuttings, cut-side down, in a bag and cover with damp sawdust (preferably pine), moss, or sand. Leave the bag slightly open to allow the cuttings to breathe.
- We place the moist substrate in a box with holes for air circulation, place our blanks horizontally and fill them on top.
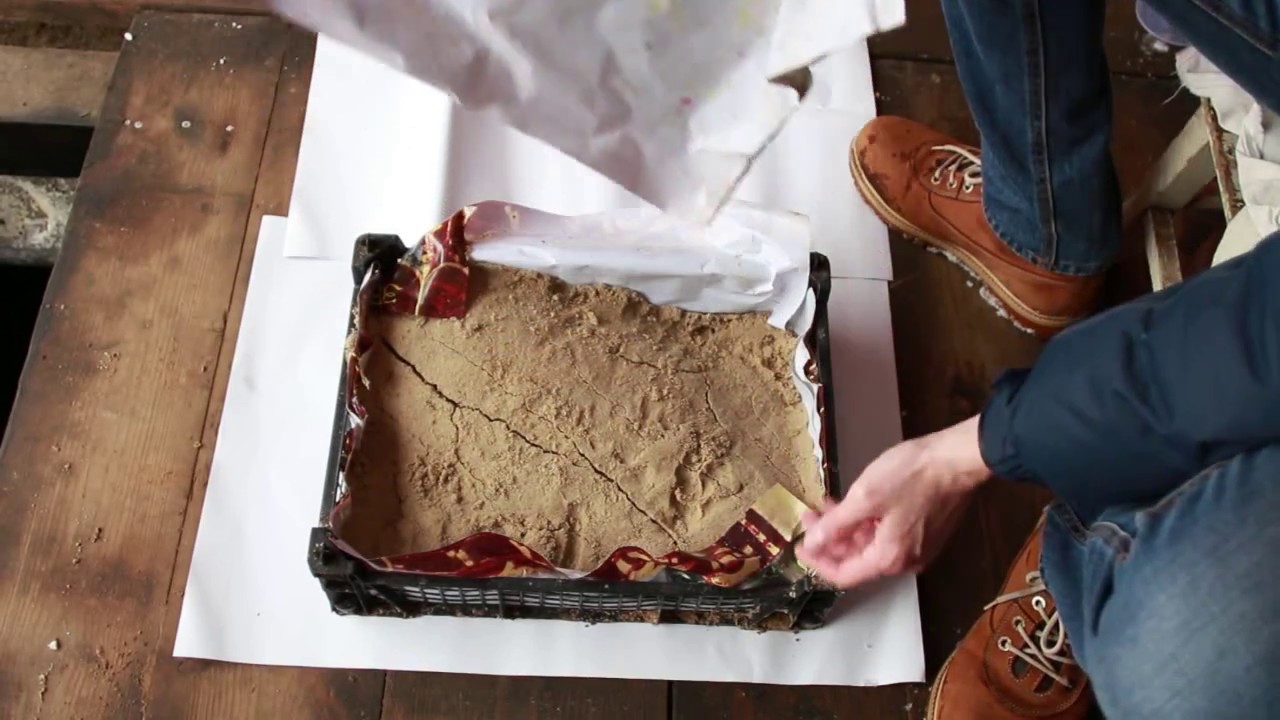
Moisture levels are considered normal if you can feel it when squeezing the substrate in your fist, but no water drips. If necessary, you can periodically add moisture to the containers or simply place a bucket of water nearby.
To repel mice and other rodents, you can add carbolic acid (50–60 g per 10 liters of water) to the water used to pour sawdust or sand.
Cuttings in the refrigerator
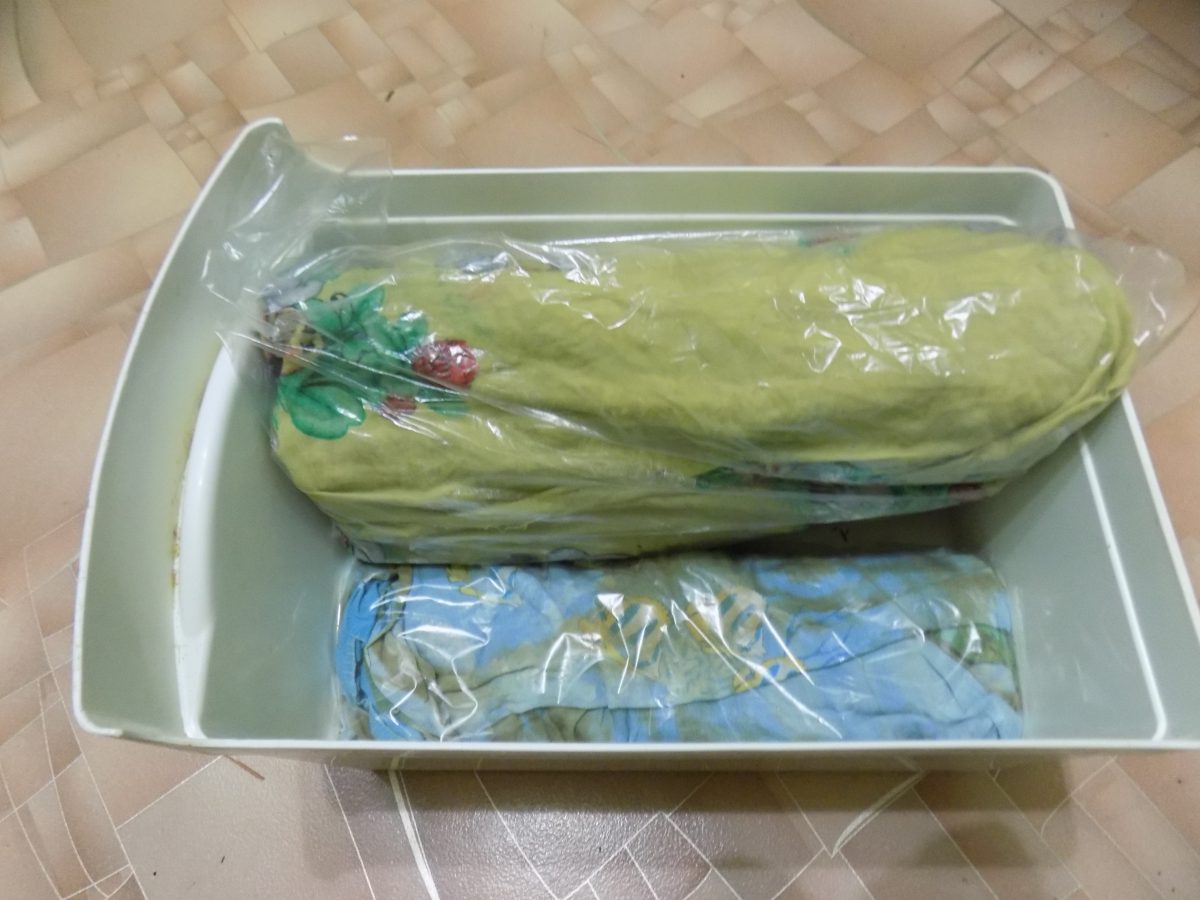
If you have a small number of cuttings or can't visit your dacha in winter to monitor the storage conditions, you can use a home refrigerator. Wrap a bunch of cuttings in a slightly damp cloth, optionally wrapping them in another layer of paper, place them in a bag, and store them in a cooler compartment (usually closer to the freezer). Poke holes in the bag to prevent the cuttings from suffocating. Check this treasure approximately every 7-10 days.
If mold or diaper rash appears, wipe the cuttings with a soft cloth and soak them in a weak solution of potassium permanganate for 10–15 minutes.
Where else can you store cuttings?
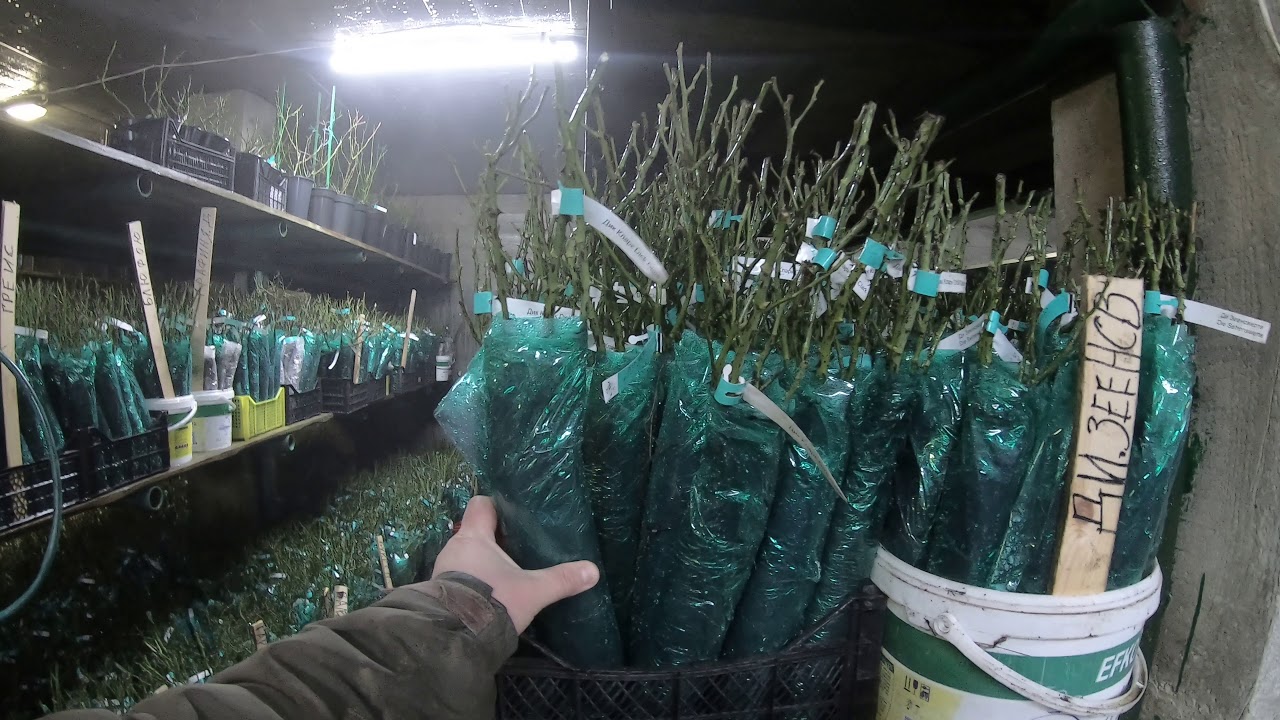
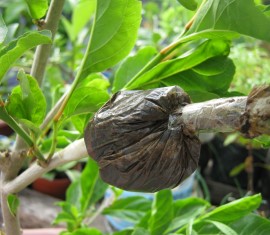
In general, cuttings can be stored almost anywhere. The main thing is to maintain a temperature of 0 to 3 degrees Celsius, humidity, and adequate ventilation. Potential scions packaged in bottles, bags, or boxes are often stored on verandas, balconies, and even hung from trees or outside windows. They can also be buried in a bag of potatoes. A potato tuber can also be used to prevent the cuttings from drying out and promote early awakening by placing it inside (or, more simply, sticking it in). Such cuttings will not only preserve well but will also be enriched with nutrients that promote root formation, and their survival rate is higher. All these options are good, but there is a risk of freezing or, conversely, excessive heating in warm weather or in the sun. In any case, such cuttings should be regularly checked for moisture, mold, and other problems.
Prevention of spoilage
- Cuttings infected with fungi can dry out after freezing. Therefore, only healthy shoots should be harvested.
- Never place the future scion in the freezer and keep an eye on the covering layer to prevent it from freezing.
- High humidity and temperatures can cause diaper rash in the kidney sinuses, so it is important that the temperature is not higher than recommended.
- When condensation forms on the bark, mold can develop. This should be prevented. However, if you do notice these signs, rinse the cuttings in an iodine solution or a solution of copper sulfate, and you can continue sending the “patients” into storage.
- When soaking before grafting, do not leave the shoot in water for a long time; it will die from lack of oxygen.
- If the temperature of the environment where the cuttings are stored rises to 4–6 degrees Celsius, they are likely to germinate quickly. Such material is no longer suitable.
Quality control of the preserved material
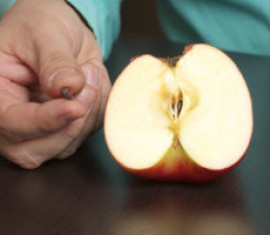
When the time comes for the operation, carefully inspect all the cuttings. They should be removed 10-12 hours before the procedure. Well-preserved cuttings look fresh and smooth. The skin is not wrinkled or cracked. They do not break or crack when bent; they should behave as if they were just cut from the tree. The buds are firm, firmly held in place, and the scales are smooth and elastic. If you cut a bud lengthwise, the cut will be green without brown spots. The cross-section on the stem should also be light in color.
If the cutting is a little dry, trim it back a couple of centimeters and soak it in sweetened water for a few hours. It may come loose.
How to avoid damaging cuttings
Procure only healthy material. Regularly treat donor plants for pests and diseases. Pack and store questionable but highly valuable specimens separately from other plants. Maintain strict temperature control, monitor humidity, and inspect the environment. Ensure rodent-proof access.
Some gardeners coat the cuttings partially or completely with paraffin. They clean them carefully before grafting.
Tips for working with cuttings
Cuttings should be taken only during dormancy, when the tree's sap flow has stopped. Be sure to disinfect all tools. Avoid touching the cut areas to avoid damaging the cambium. Make multiple cuttings, as not all will survive in their best condition. Immediately before grafting, make a fresh, diagonal cut 1–2 cm higher, three times the diameter of the cutting. Make the same cut on the rootstock. The knife should be as sharp as possible.
Try making several grafts on the same or different trees. Experiment with different methods. Grafting is done before bud break, immediately after the tree awakens. Don't despair if it doesn't work the first time; even experienced gardeners don't always succeed.


Comments
A very good and detailed article, an excellent guide, especially for beginners... From personal experience, I can say that the most important thing is that the tree that gives you cuttings is 100% healthy. Take the time to carefully inspect every patch of bark, otherwise you'll end up with a simply diseased garden...